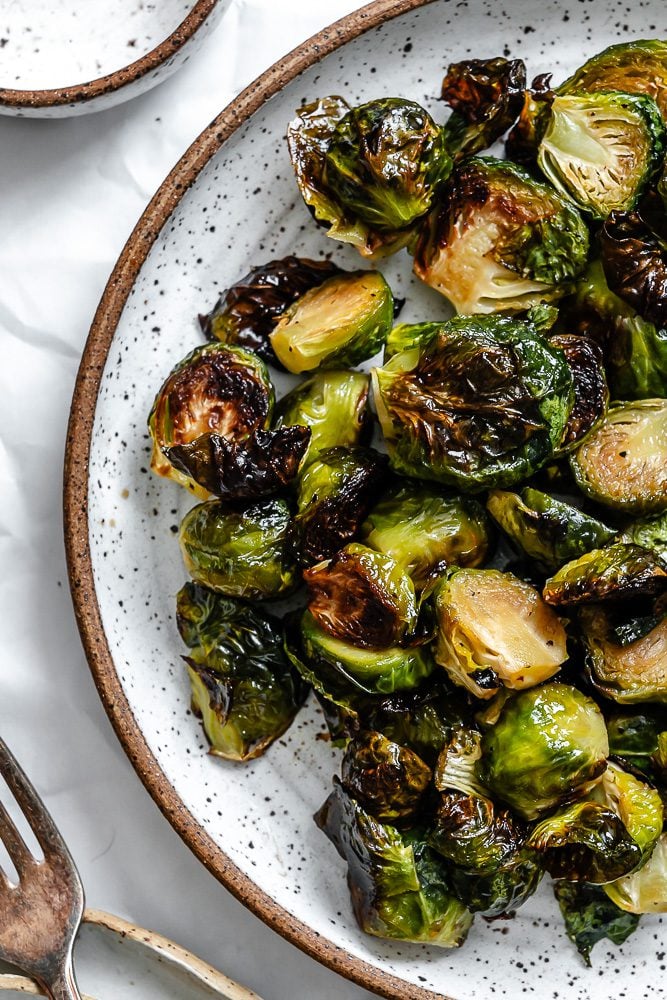
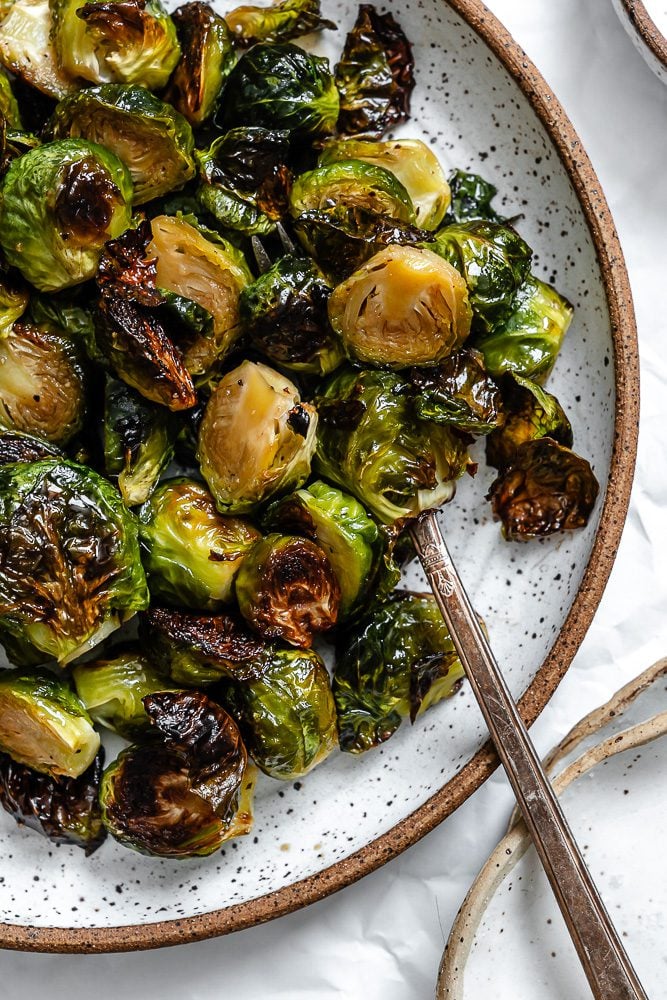
35-minute maple-glazed Brussel sprouts are crispy, caramelized, sweet, salty, and so tasty—you’ll want to make them again and again!
Jump to:
Why Try Maple Roasted Brussel Sprouts
This holiday season, take Brussels sprouts to the next level (and forever ditch the soggy boiled version!) with a simple, crowd-pleasing maple glazed Brussels sprouts recipe. Roasting sprouts brings out their natural sugars, reduces bitterness, and caramelizes/crisps the edges, leaving the middles perfectly fork-tender. When tossed in maple syrup, you’re likely to convert even well-known Brussels Sprouts haters.
Not only are they packed with flavor, but this recipe for Brussels sprouts with maple syrup is also quick and simple, with only a few inexpensive ingredients and naturally gluten-free, vegan, Paleo, and keto. Whether you’re prepping for a holiday gathering or just want a crowd-pleasing side dish for dinner, they are practically oozing with sweet and salty flavor. Everyone will want seconds!
Looking for more simple holiday sides? Try brown sugar green beans or vegan candied yams with marshmallows.
The Ingredients
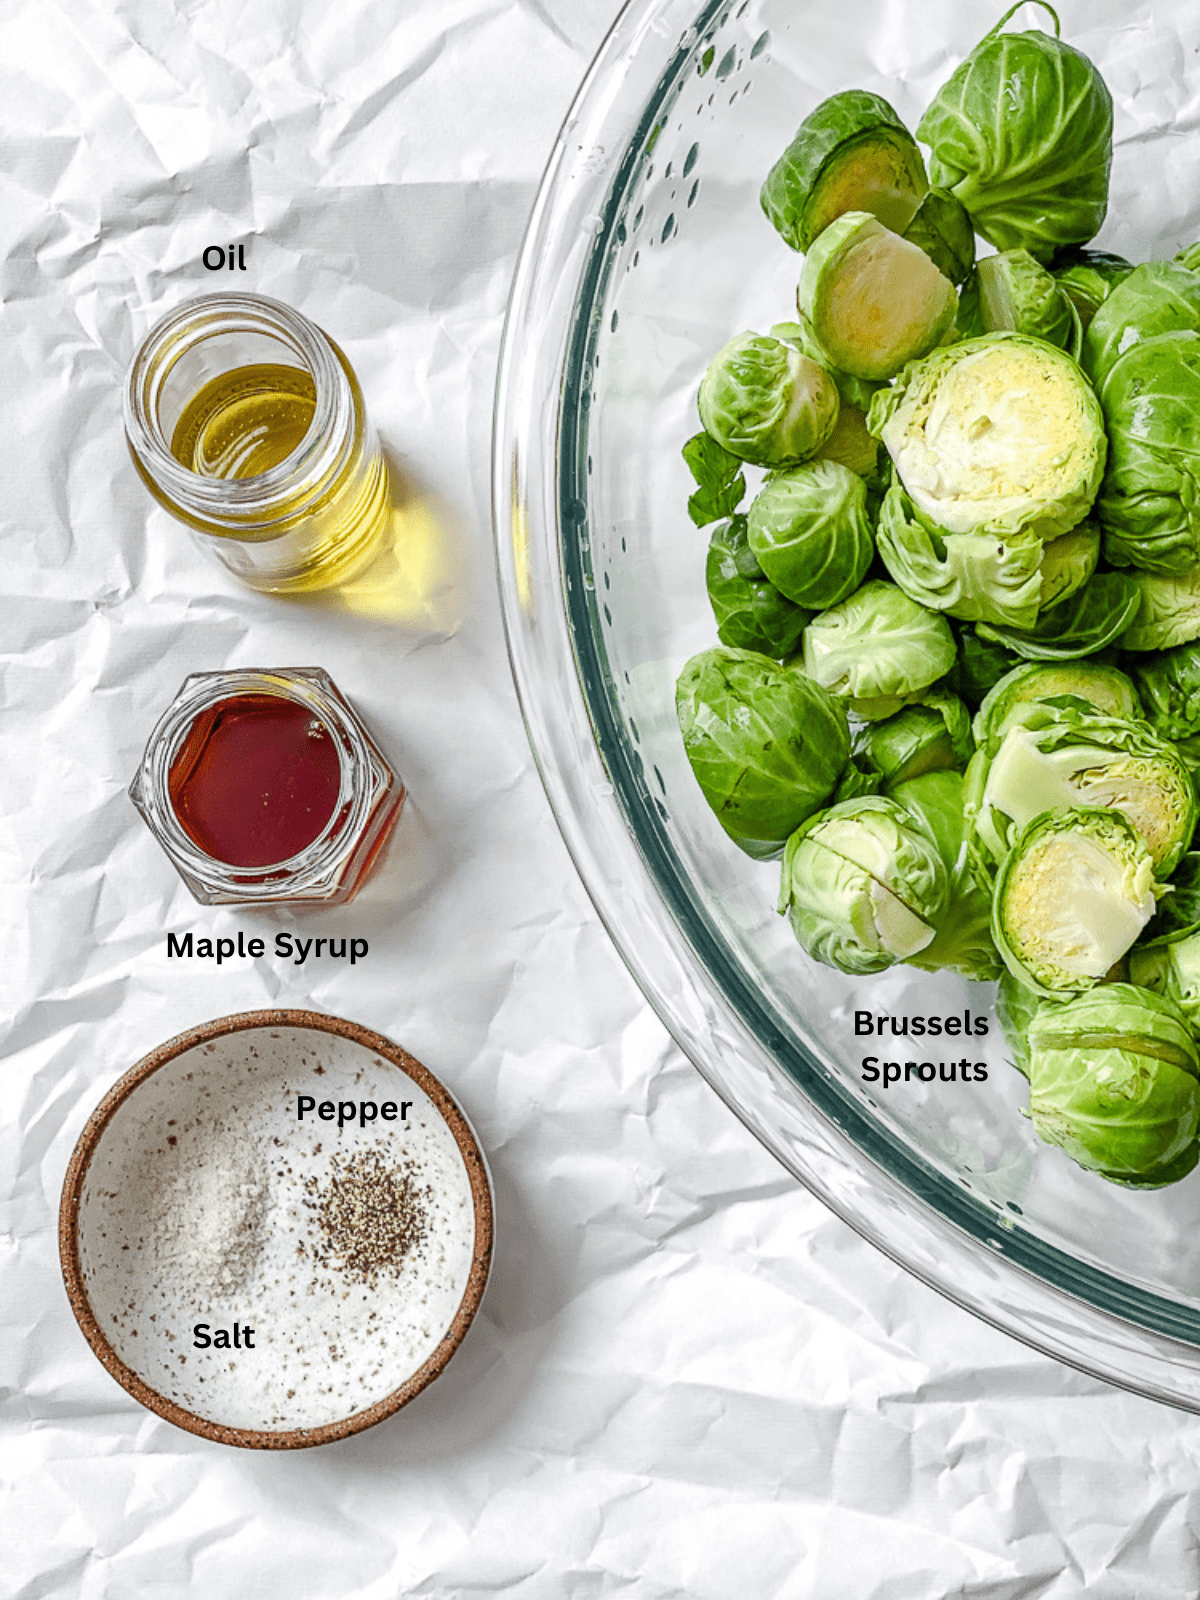
Refer to the recipe card for the full list of ingredients, substitutes, and quantities.
Recipe Variations
- Maple balsamic Brussel sprouts: If you prefer a little tang to your sweet, use equal parts maple syrup & balsamic vinegar. Optionally, heat the mixture first for 4-5 minutes to reduce it to a syrupy consistency.
- Seasonings: Add depth with seasonings like garlic powder, onion powder, smoked paprika, and/or cayenne pepper. Add to taste.
- Vegan bacon: Fry and chop up vegan bacon to stir into the dish. Optionally add a few drops of liquid smoke to the maple to mimic the smokiness.
- Soy sauce: Add umami savory depth, using soy sauce instead of salt (added with the maple syrup at the end). Use tamari/coconut aminos if gluten-free.
- Dijon mustard: Whisk a tablespoon or so into the maple syrup for zing. Optionally, add a little lemon juice or apple cider vinegar to the dressing.
- Spice: Add spice with hot sauce, red pepper flakes, or cayenne pepper.
- Nuts: Add toasted or candied pecans, walnuts, or almonds for crunch.
How to Make Maple Glazed Brussels Sprouts
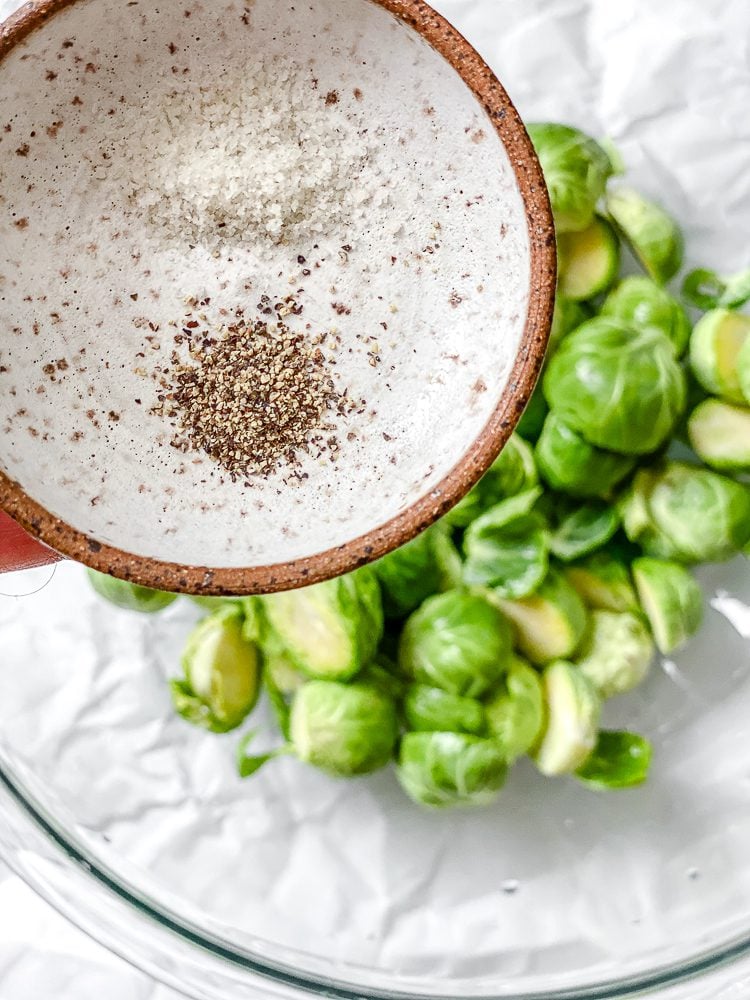
Step 1: First, preheat the oven to 400F/200C and line a baking sheet with parchment paper, then set aside. Then, rinse and trim the end of the Brussels sprouts, removing any wilting outer leaves and chopping them in half. Leave any small sprouts whole. Toss in a bowl with salt and pepper and set aside for 5 minutes.
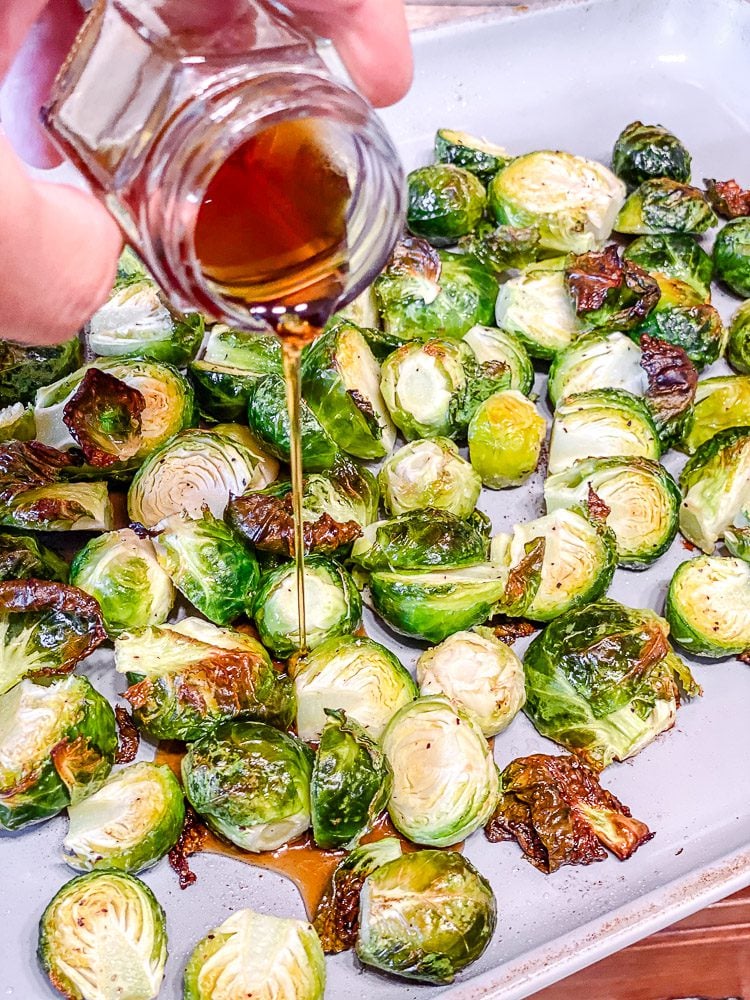
Step 2: Then, toss them with the olive oil to evenly coat. Transfer them to the baking sheet, spreading them evenly, cut-side down. Roast the Brussels sprouts for 20-25 minutes, until fork-tender, then toss them with the maple syrup, spread evenly again, and roast for a further 5 minutes. Finally, remove the maple Brussels sprouts from the oven, and enjoy immediately!
If the sprouts are large, they may need 5-10 minutes longer to become tender.
Want to save this recipe?
FAQs
The texture of maple-glazed Brussels sprouts is best directly after roasting. However, you can wash, trim, and dry sprouts 1-2 days in advance and store them in an airtight container in the fridge, ready to roast.
Yes, they should air fry in about 12-17 minutes, depending on their size, at 375F/190C.
I don’t recommend it, as they won’t become nicely crispy. If you want to try, though, thaw them fully, pat dry, then use.
Pro Recipe Tips
- Make sure the sprouts are dry: After washing, dry them thoroughly; otherwise, excess moisture leads to them steaming, not roasting.
- Use REAL maple syrup: There are lots of sub-standard dupes and maple-flavored syrups out there.
- Don’t skimp on oil: It’s needed for perfectly crispy Brussels sprouts.
- For maximum crispiness: Preheat the oven tray with a little oil, then place the sprouts cut-side down, spaced out, in a single layer on the pan. Avoid overcrowding the tray, don’t toss them during the roasting process, and optionally broil at the end for even more char.
- Roasting time varies: I used fairly small-regular sprouts, which take about 25-30 minutes. Larger sprouts may take up to 40-45 minutes. Ensure they’re fork-tender before adding the maple syrup.
Storage Recommendations
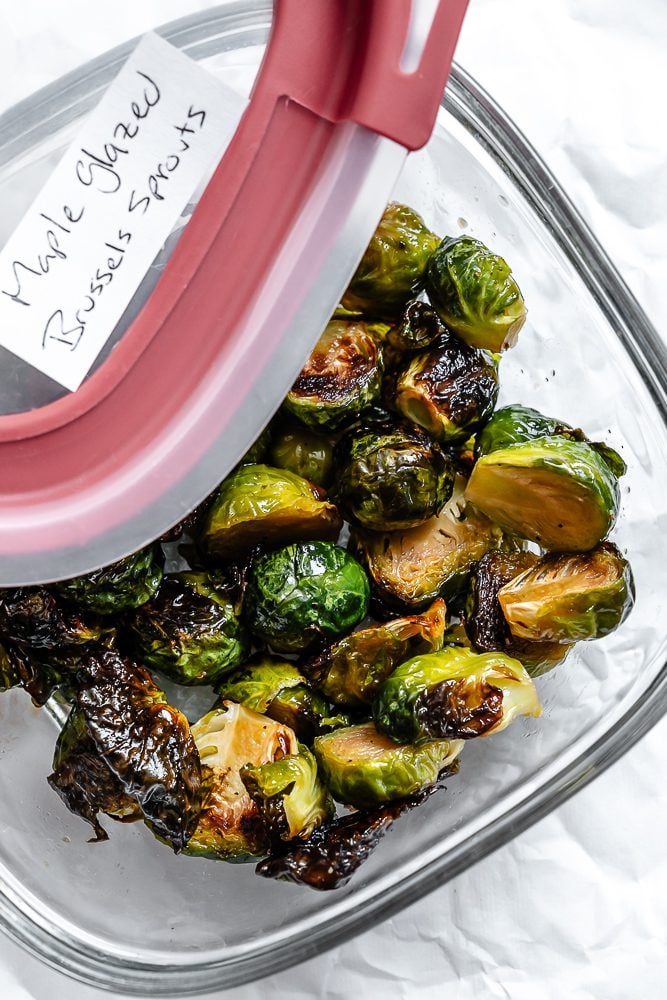
You can store roasted Brussels sprouts in an airtight container (these are the ones I like) in the fridge for 3-4 days. It’s best to store them BEFORE adding the maple syrup to retain crispiness.
I don’t recommend freezing maple syrup Brussels sprouts, as they’ll get soggy.
Reheat the sprouts in the oven/ air fryer at 350F/175C (3-5 mins in the air fryer or 10-15 minutes in the oven. Optionally broil for more crispiness).
Maple Glazed Brussels Sprouts
Equipment
Ingredients
- 1 pound of Brussels sprouts trimmed and halved
- ½ teaspoon salt
- ¼ teaspoon freshly ground black pepper
- 3 tablespoons of olive oil
- 2 tablespoons of maple syrup
Instructions
- Preheat the oven to 400 degrees F. and line a baking sheet with parchment paper or a silicone mat. Set aside.
- Wash and dry the Brussels sprouts. Trim the end and cut them in half. You can leave the small one whole.
- Place them in a medium bowl and sprinkle the salt and black pepper. Set aside for 5 minutes for the salt to work its way into the Brussels sprouts.
- Add the olive oil and toss until evenly coated.
- Transfer the Brussels sprouts onto the baking sheet, distribute them evenly, and put all of them close together.
- Roast for 20 minutes.
- Carefully remove the sheet from the oven and drizzle the maple syrup. Mix well and roast for 5 minutes.
- Remove them from the oven, transfer them to a serving dish, and enjoy!
Notes
- Make sure the sprouts are dry: After washing, dry them thoroughly; otherwise, excess moisture leads to them steaming, not roasting.
- Use REAL maple syrup: There are lots of sub-standard dupes and maple-flavored syrups out there.
- Don’t skimp on oil: It’s needed for perfectly crispy Brussels sprouts.
- For maximum crispiness: Preheat the oven tray with a little oil, then place the sprouts cut-side down, spaced out, in a single layer on the pan. Avoid overcrowding the tray, don’t toss them during the roasting process, and optionally broil at the end for even more char.


Andrea White says
So yummy!